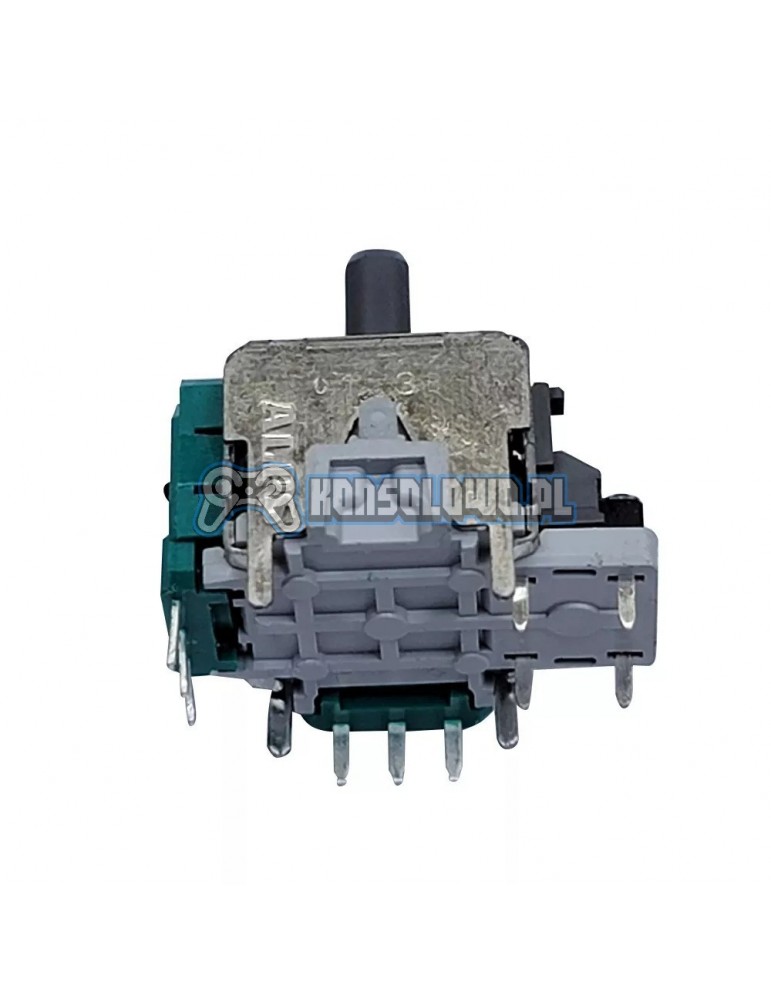
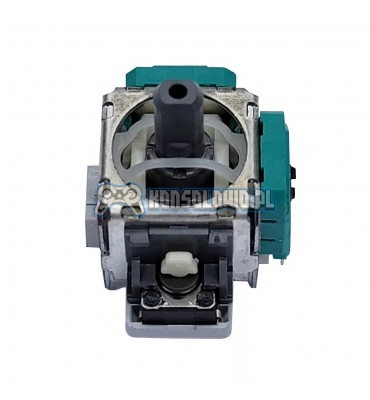
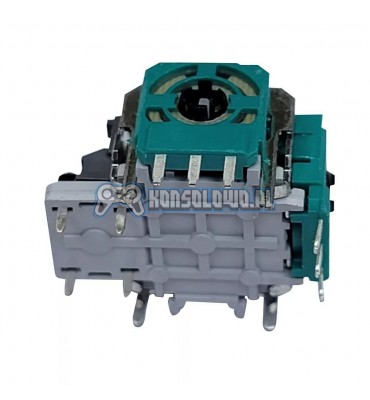
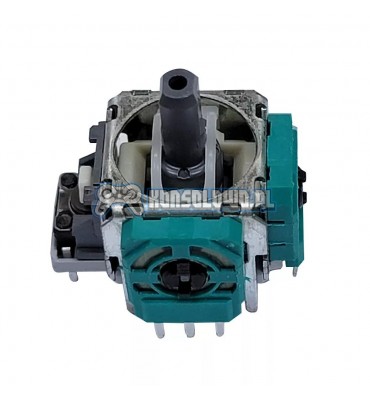
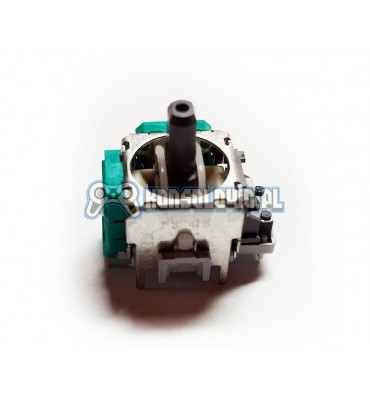
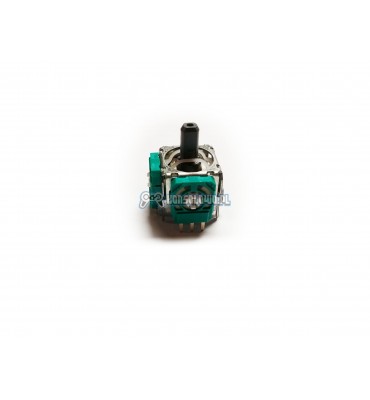
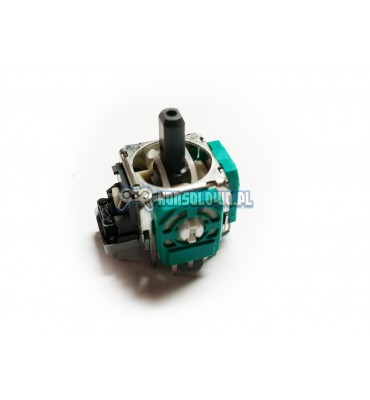
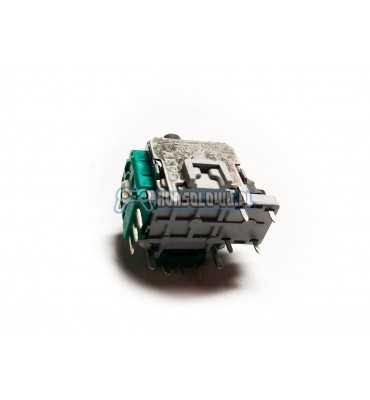
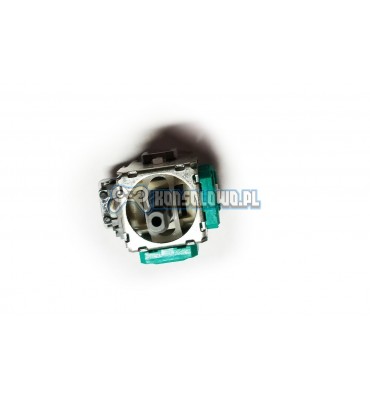
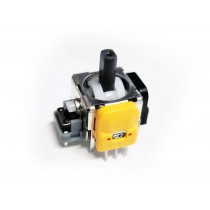
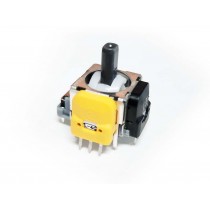
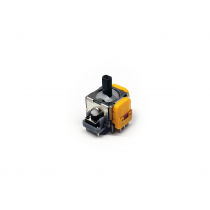
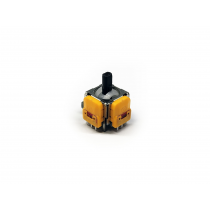
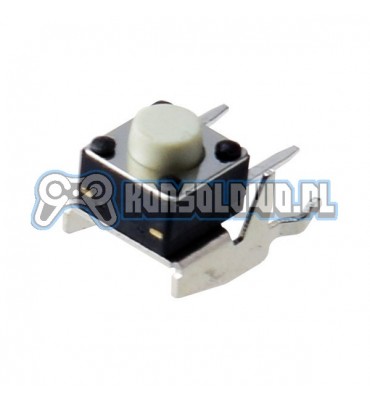
High-quality original analog ALPS. If your pad automatically moves to one side - which can be observed in games or the console's main menu, or worse, does not work in a certain direction, you should replace the module.
Product features:
- Original ALPS module, exactly the same as in the controller
- Version V12
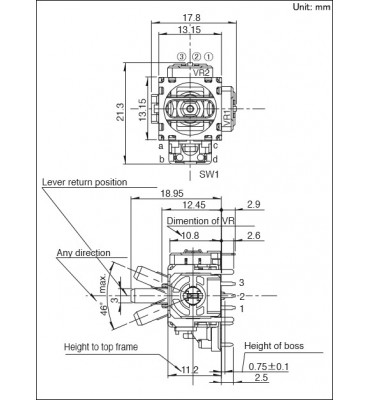
- Size 13mm
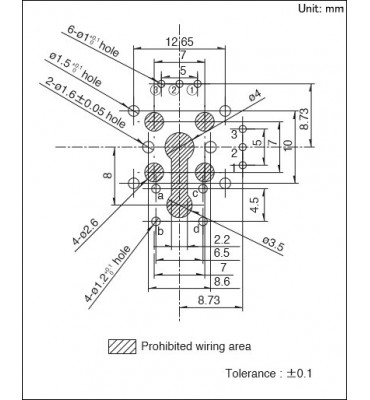
- PIN spacing is exactly the same
- should be used in case of controller damage
- basic soldering skills are required for replacement
- requires soldering 14 points
- fits all versions of original Microsoft Xbox One controllers (also with jack and BT) - models 1537, 1697, 1708
- fits Elite V1 - model 1698
- recommended for Xbox Series controller - model 1914
- does not fit Xbox Elite Series 2 controller - model 1797
- universal - can be used as right or left
We recommend installation:
- Controller Xbox One Model: 1537- analog V5
- Controller Xbox One Model: 1697- analog V5
- Controller Xbox One Model: 1708- analog V5
- Controller Xbox Series Model: 1914 - analog V12
- Controller Xbox Elite 1 Model 1698 - analog V5
- Controller Xbox Elite 2 Model 1797 - analog V11
- Controller Nintendo Switch PRO - analog V8
- Controller PS3 Dualshock - analog V6 or V10 (choose visually)
- Controller PS4 Dualshock 4 V1 JDM-001 - analog V10 or V7 (choose visually)
- Controller PS4 Dualshock 4 V1 (without additional lightbar, main boards JDM-001) - analog V7 or V10 (choose visually)
- Controller PS4 Dualshock 4 V1 (without additional lightbar, main boards JDM-010) - analog V7 or V10 (choose visually)
- Controller PS4 Dualshock 4 V1 (without additional lightbar, main boards JDM-020) - analog V7 or V10 (choose visually)
- Controller PS4 Dualshock 4 V1 (without additional lightbar, main boards JDM-030) - analog V7
- Controller PS4 Dualshock 4 V2 (with additional lightbar, main boards JDM-040) - analog V7
- Controller PS4 Dualshock 4 V2 (with additional lightbar, main boards JDM-050) - analog V4 or V7 (choose visually)
- Controller PS4 Dualshock 4 V2 (with additional lightbar, main boards JDM-055) - analog V4 or V7 (choose visually)
- Controller PS5 Dualsense - analog V13 or V14 (choose visually)
- Controller Razer Rajiu - analog V6
- Controller Scuff PS4 - analog V7 or V4 (choose visually)
- Controllers Xbox 360, PlayStation 2, PlayStation 1 - different type of analogs, larger than these.
- Replacement controllers PS3, PS4, PS5, Xbox etc. - need to disassemble and compare visually.
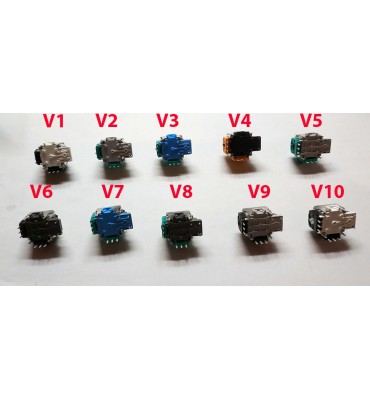
For SONY Dualshock 4 and Dualsense controllers, it is not possible to select the analog by model or housing. Analogs are selected visually (the pad must be disassembled)! The choice is usually limited to V4 - orange with 10k potentiometers, V7 - green-blue with 10k potentiometer.
Differences in analogs:
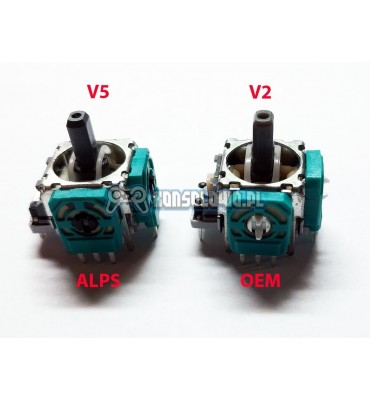
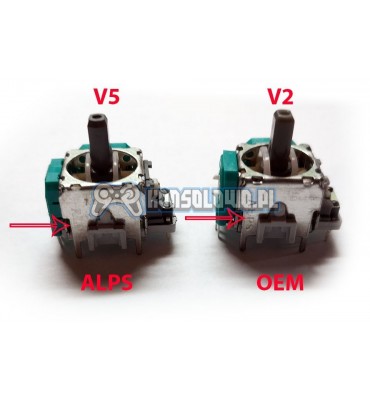
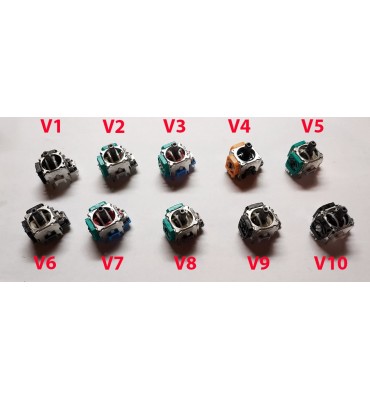
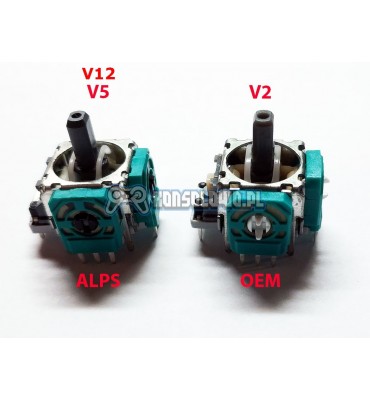
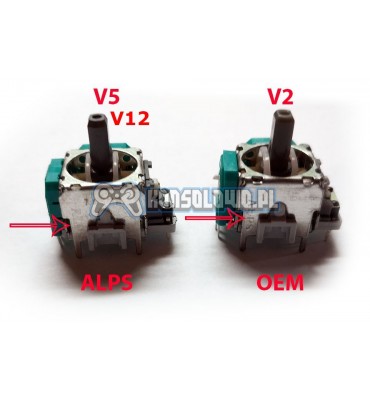
- V1-V3 - OEM replacements, have a larger dead zone, all have the number 3318 stamped
- V4 - original Favor Union FJR10K found e.g. in pads with main board JDM-050, 040
- V5-V10 - originals ALPS, differ only visually, electrically it is exactly the same product.
- V11 - original ALPS - Xbox Elite 2
- V12 - original ALPS - used in Xbox Series Model 1914 controllers
- V13 - original ALPS, used in Dualsense controllers PlayStation PS5
- V14 - original Favor Union 2,3KOhm, used in Dualsense controllers PlayStation PS5
- V15 - original Favor Union FJM10K 10KOhm with metal thin stem
- V16 - replacement 10k
NOTE! The analog may lock in extreme positions and this is normal. After soldering and assembling the housing, it will never lock. The analog consists of 2 potentiometers with a resistance of 10kOhm (2,3K for Dualsense) and a tolerance of 20%.
After replacement, the analog self-steers to one side. How to solve the problem?
As I mentioned above, the analog is 2 potentiometers (colored element with 3 legs, can be disconnected from the housing) with a total resistance of 10kOhm and a tolerance of 20%. This means that in practice they have 9-11kOhm. Both potentiometers act as voltage dividers. If deviation occurs after replacement, it means that an analog with different parameters has been installed. The ideal solution would be to recalibrate the pad, just as new analogs are calibrated in Nintendo Switch JoyCons. Therefore, the simplest solution is to solder the potentiometers (those with 3 legs) until it works, or measure the old potentiometer and select one as close as possible. All analogs are sent randomly, we do not measure potentiometers before shipping!
Measuring the potentiometer on the outer 2 pins is a great simplification and is intended to show that each analog is different (20% tolerance). For correct calculation of the center, the proportion between legs 1 and 2 and 1 and 3 is more important, as the voltage on the potentiometer is directly proportional to the resistance (principle of operation of a voltage divider). If someone does not understand the principle of a voltage divider, they should not attempt to replace analogs.
What to do if the analog is skewed:
1. replace the potentiometers until it works
2. use drift-fix
3. perform pad calibration (if possible)
To better understand the issues, I recommend reading articles on Wikipedia (https://pl.wikipedia.org/wiki/Potencjometr) about potentiometers and voltage dividers.

 Polski
 English GB
 English